 Materials:
*Ice tray
*Water
*Food coloring
*Craft sticks or tooth picks
*Foil or Plastic wrap
*Art paper or wrapping paper
*Cookie sheet
Directions:
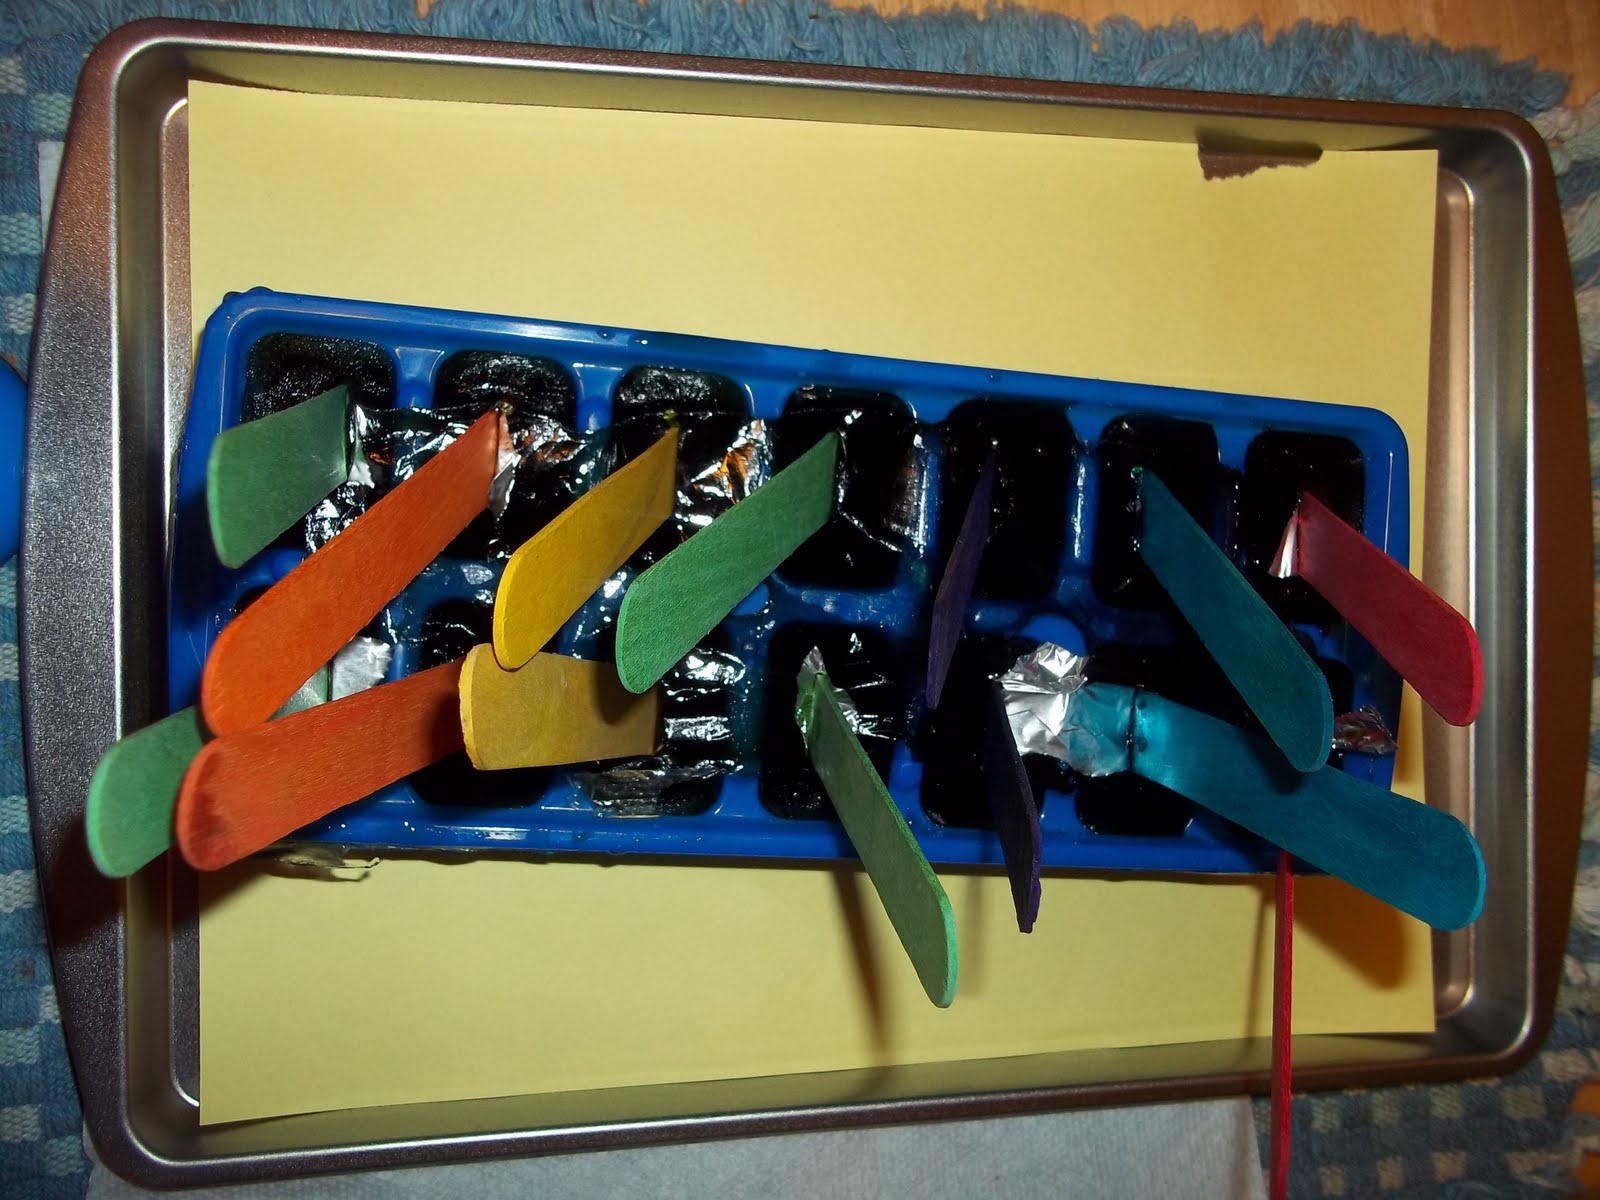
1. Fill the ice tray with water
2. Place 2-3 drops of of food coloring in each ice hole
3. Cover tray with Plastic wrap or foil
(plastic wrap allows you to see through when poking the sticks in & foil holds the sticks a little better.)
4. Poke craft sticks or tooth picks into each hole
5. Put in freezer
6. Remove when frozen
7. Let sit at room temperature for 5 minutes so the ice is a little wet
8. Place art paper on cookie sheet (the area is going to get wet)
HINT: If you don't have art paper use the back side of wrapping paper
9. Use colored ice to "paint" a picture
My Review:
I had Ethan do this activity with my Mom while I was out. However, he did ask to do it again a couple days later. In my book activities that are requested a second time are winners! I was pleasantly surprised how the color actually worked very similar to water colors. We put the ice tray back in the freezer so we can do this activity again at the drop of a hat.
0 comments:
Post a Comment